 “Spring is the time of plans and projects.” –Leo Tolstoy, Anna Karenina
Even as the last bit of snow melts from the shady corners of the yard, we are welcoming in the official start of Spring. The longer days, the NCAA tournament, and Spring training are much more tantalizing than something else so inextricably tied to the season: the often dreaded Spring Cleaning.
Here’s a quick and easy Spring Cleaning project that checks off a bunch of boxes and will give you a well-deserved sense of accomplishment, to boot.
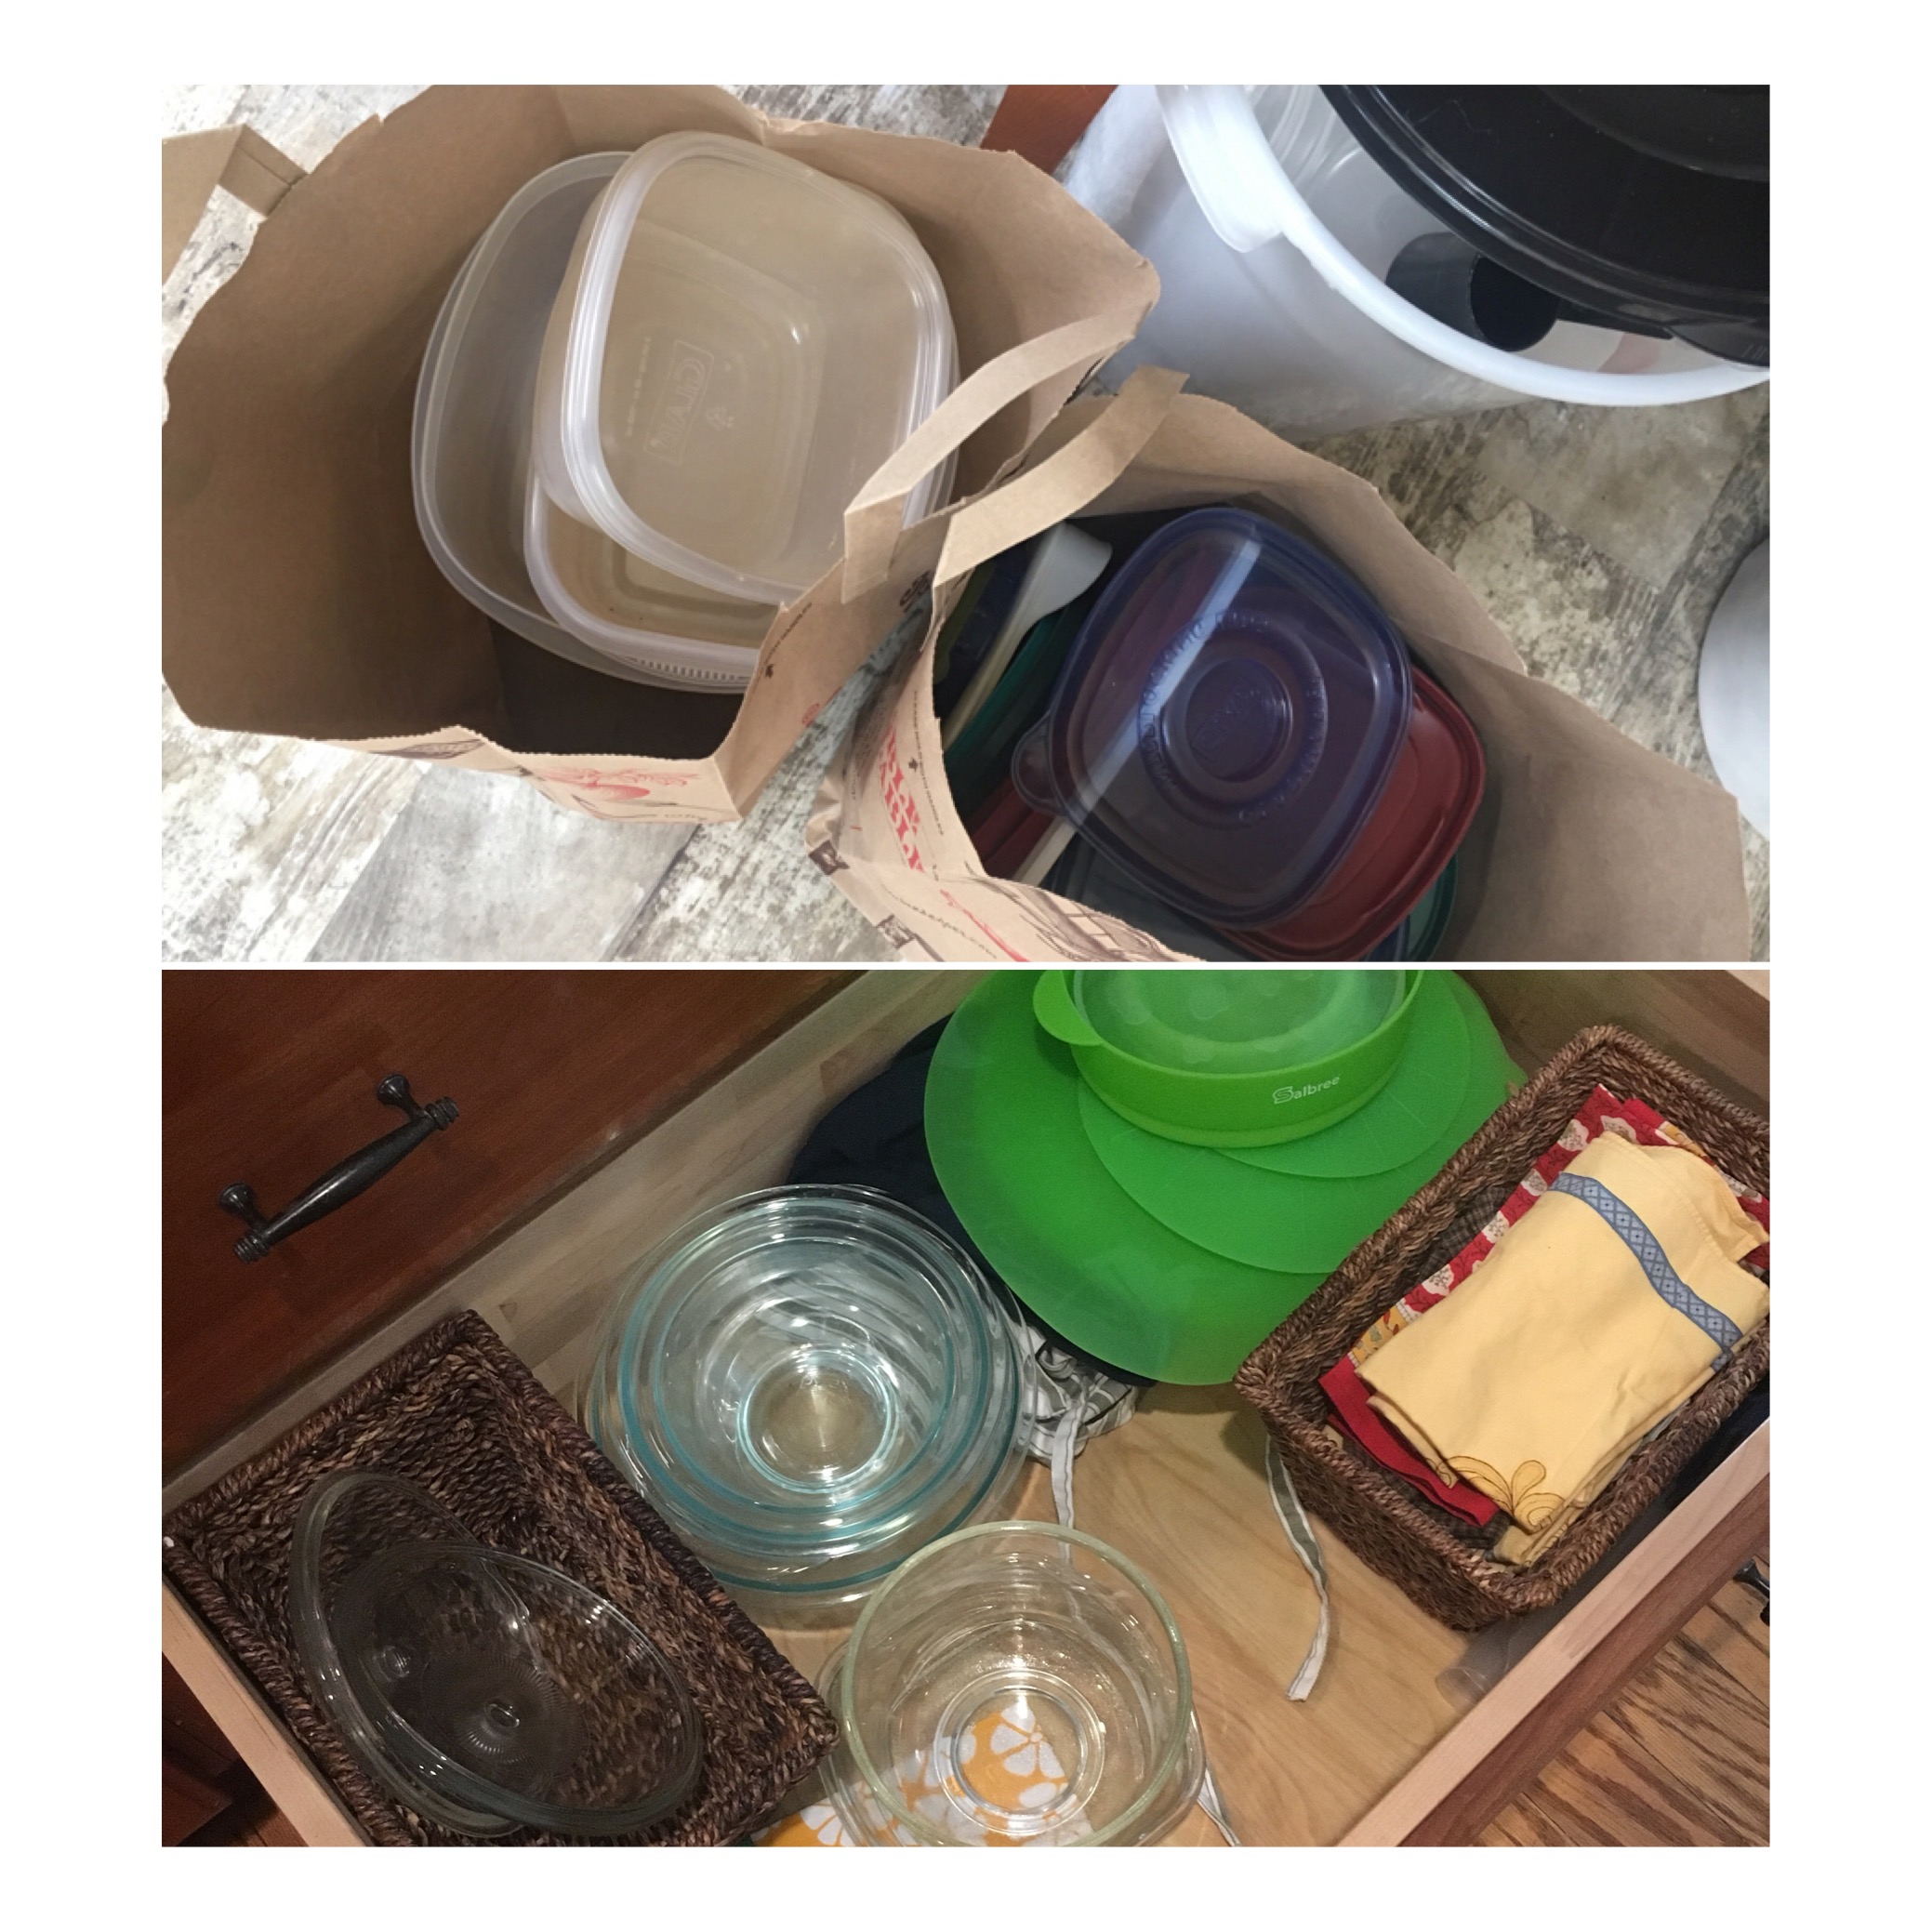
Trade out all your plastic food storage containers for glass and silicone products. That includes all the Chinese food and deli soup containers socked away over the years too.
The rewards are many – here are the most notable:
– decluttering of your kitchen cabinets and pantry (think of all the space you’ll gain!)
– preventing your food from direct contact with harmful chemicals contained in plastic products (cumulative ingestion of bisphenol A (BPA) and other chemicals wreaks havoc on many of our body’s systems – nervous, hormone, immune, digestive – more to come on this subject in future posts)
– sturdy heat-proof glass bowls and pans and silicone lids hold up and won’t need replacing any time soon
– saving all that time and frustration pairing stray plastic bowls with non-existent matching lids (in our house, we had as many orphan plastic lids as we do lonely socks).
So follow these frustration-free steps and brag to your friends about your Spring cleaning prowess.
- Collect up a selection of heat-resistant glass bowls. Dig out all the glass cookware you have hiding in the pantry. If you don’t have any, try a buy/swap website or second-hand store – there’s lots of vintage out there.
- Now, put your hands on your $5-off houseware store coupon, and purchase a set of FDA-approved silicone flat lids – they come in several sizes and use suction to seal to the flat-topped bowls and dishes.
- If buying new glass food storage containers is your only option, go online or use another one of those houseware store coupons, and buy a set with silicone (not plastic) lids.
You can put these food containers in microwave, frig, or freezer and be assured of no harmful chemicals entering into your foods in any stage of cooking, storing or reheating.
What if you just can’t part with all those stacks of plastic storage containers? If apprehension about throwing out the treasure trove of plastic containers is scaring you away from this project, have no fear. Tuck them away in a box in the garage for the time being. And keep a couple handy for your next organizing project (Ha!). If after a few weeks, you have not missed them, great! You’re now ready to get rid of them – sending them all where they belong.
Where do they belong? Some belong in the recycling bin, some in the garbage and some at Whole Foods. Let me explain. All plastic material is categorized by a number system. You see numbers 1-7 set in a triangle stamped on most plastic products. Along with being a comprehensive recycling program reference, Eco Life‘s website sorts this system out really simply and clearly.
If a plastic container is stamped with a “1” or a “2”, it goes in the municipal co-mingled recycling bin. If there is no number, or a “3”, “4”, “6”, or “7”, the item most likely goes in the garbage, unfortunately. In some communities, these types of plastics can be collected and recycled. Check on your town or county recycling website page about what’s accepted in your community. Another great resource for recycling program specifics based on zip codes is Earth 911. No. 5 plastic is becoming more readily recycled. Think yogurt cups and the like. Through Preserve’s Gimme 5 program, plastic containers labeled with a “5” can be cleaned out and brought to any Whole Foods store for recycling.
Now that you accomplished the food container swap-out, you can relax, and enjoy the spring weather!
Great article
Great advice and an entertaining read to boot. Here’s to spring cleaning with these guidelines!!